Delegating with Ledger Devices
Ledger Initialization
Before getting started, you need to complete two prerequisite steps:
- Set up your Ledger device using the official documentation.
- Connect the Ledger to your cspr.live account by following the Ledger Setup guide.
Important Notes
- CRITICAL: Write down and hide your recovery codes! These are necessary to be able to restore your account if you lose or damage the hardware key.
- Currently, Casper accounts do not link to the Ledger Live application, so your account balances will not show on Ledger Live. However, you can still safely use the Casper application on the hardware key to transact with and store tokens.
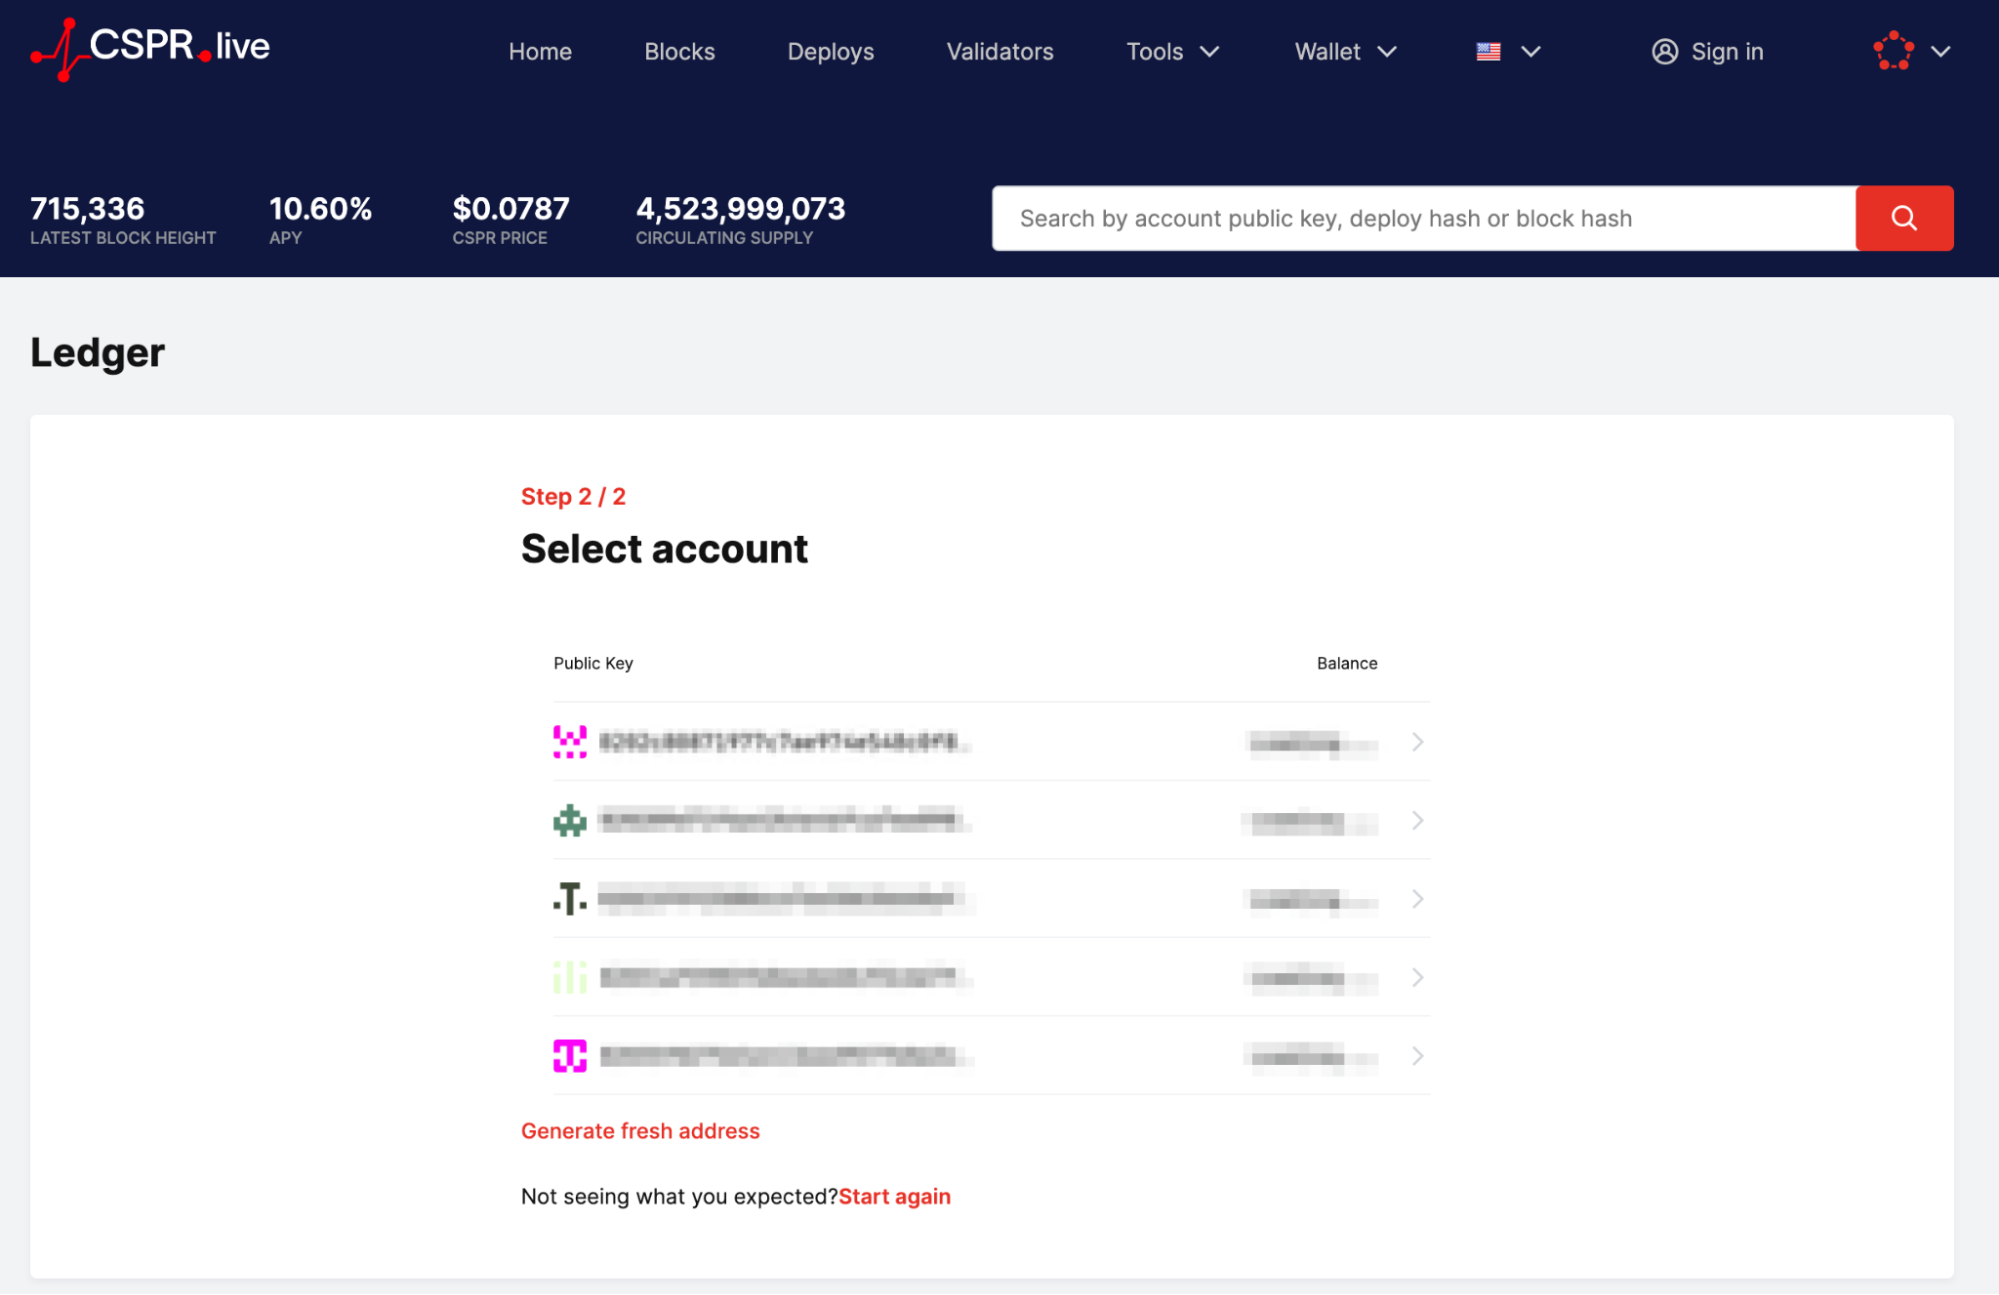
- When logging in to cspr.live, the UI will offer numerous public keys. Choose any of them. They are all derived from the Master Seed that is secured in the Ledger key (more info here). Make sure you write down whichever public key(s) you end up using so that you have no confusion when trying to log in.
Staking with a Validator
Connect and Login with Ledger
Connect your Ledger to your computer via USB and enter your PIN to unlock it.
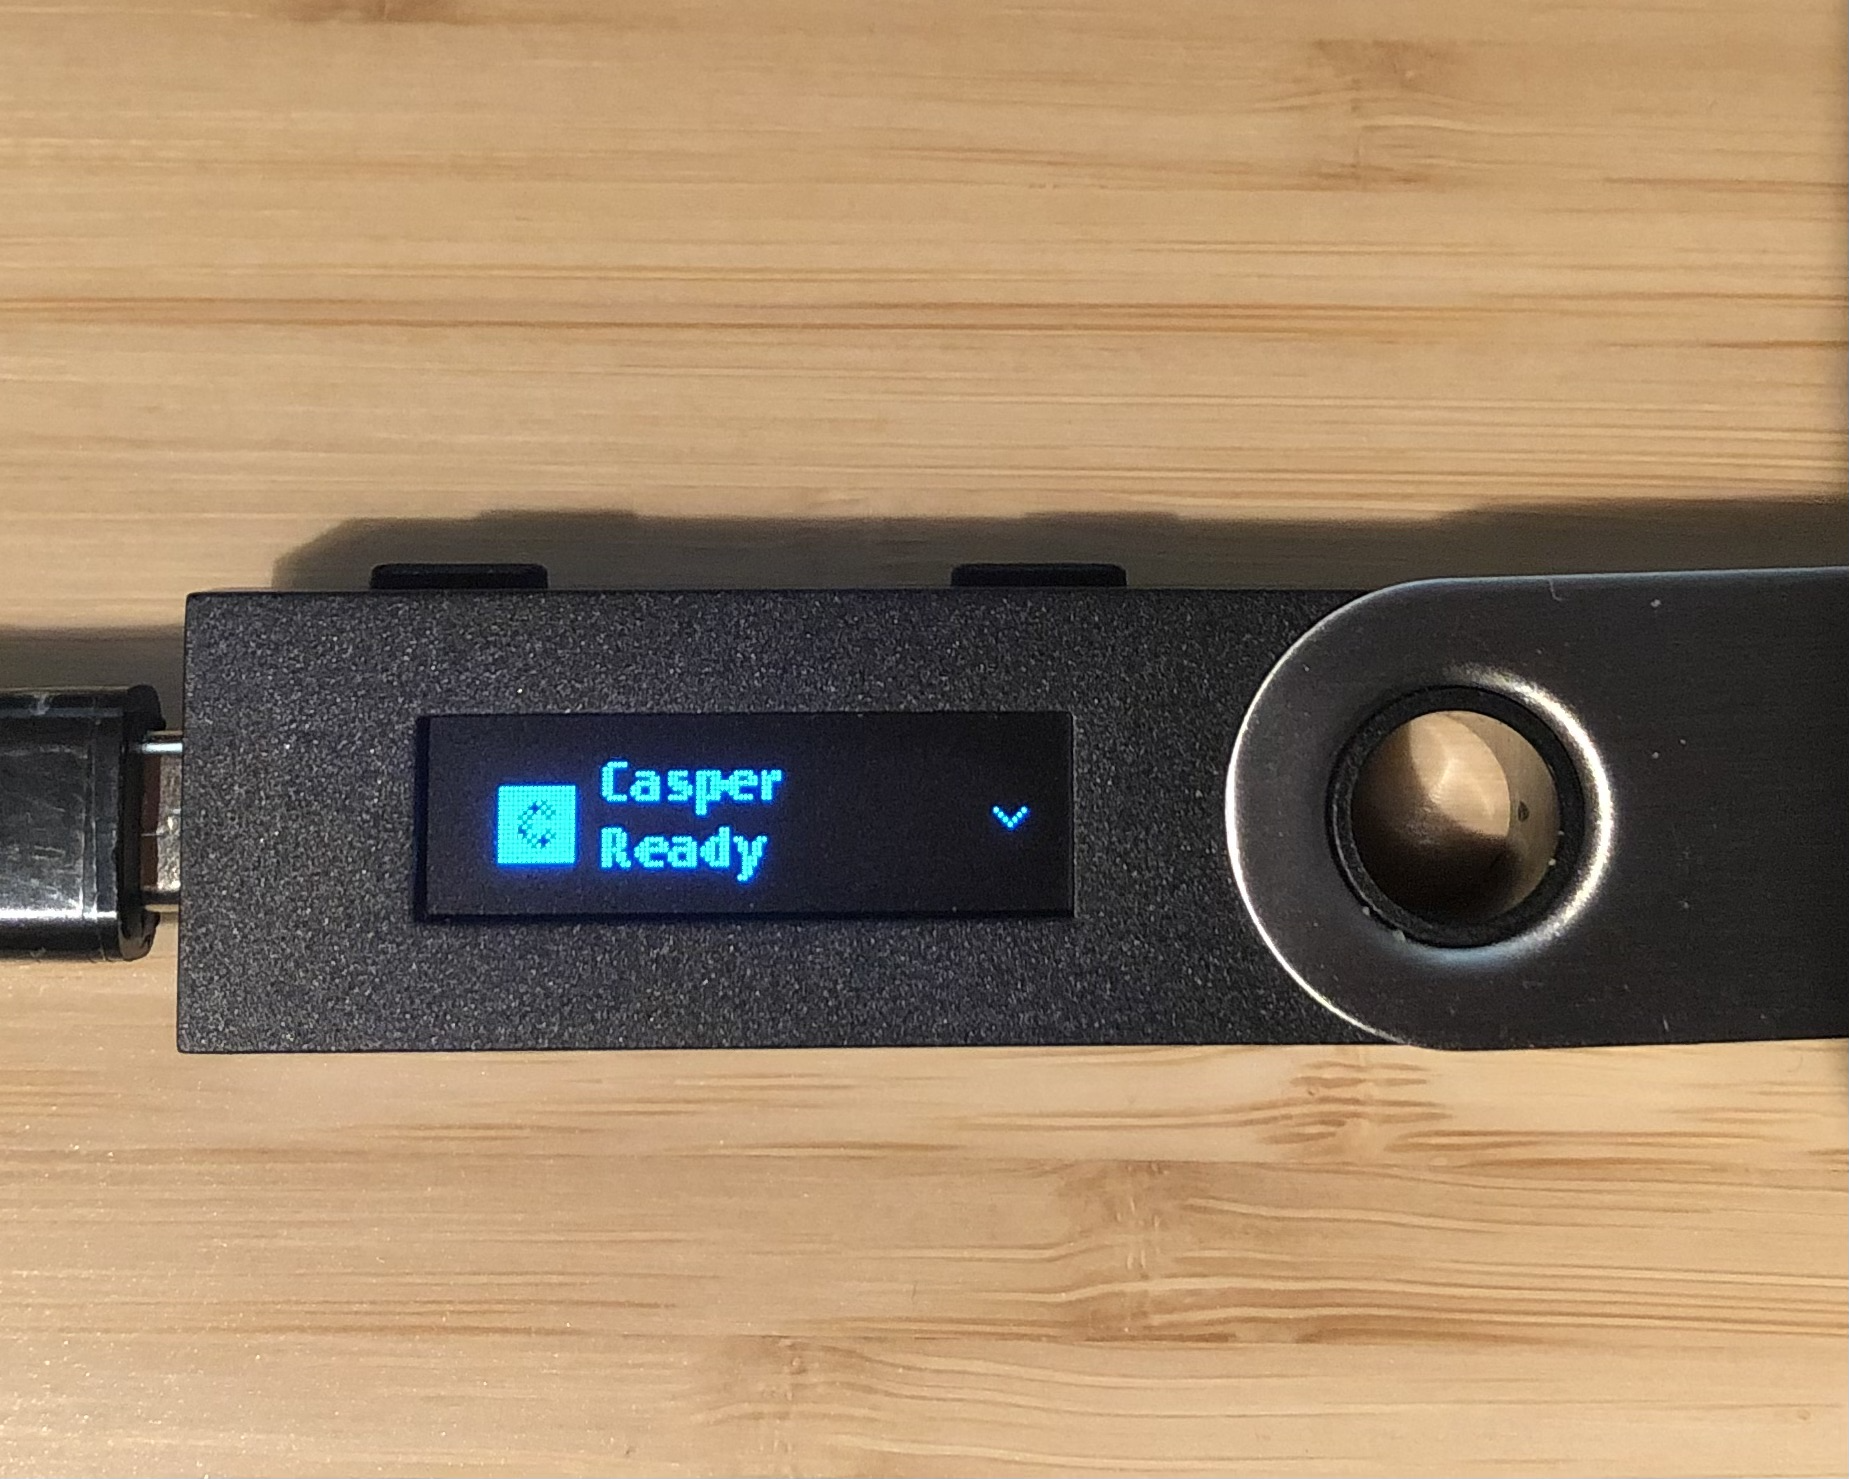
Open the Casper app on the Ledger (you will see the message "Casper Ready").
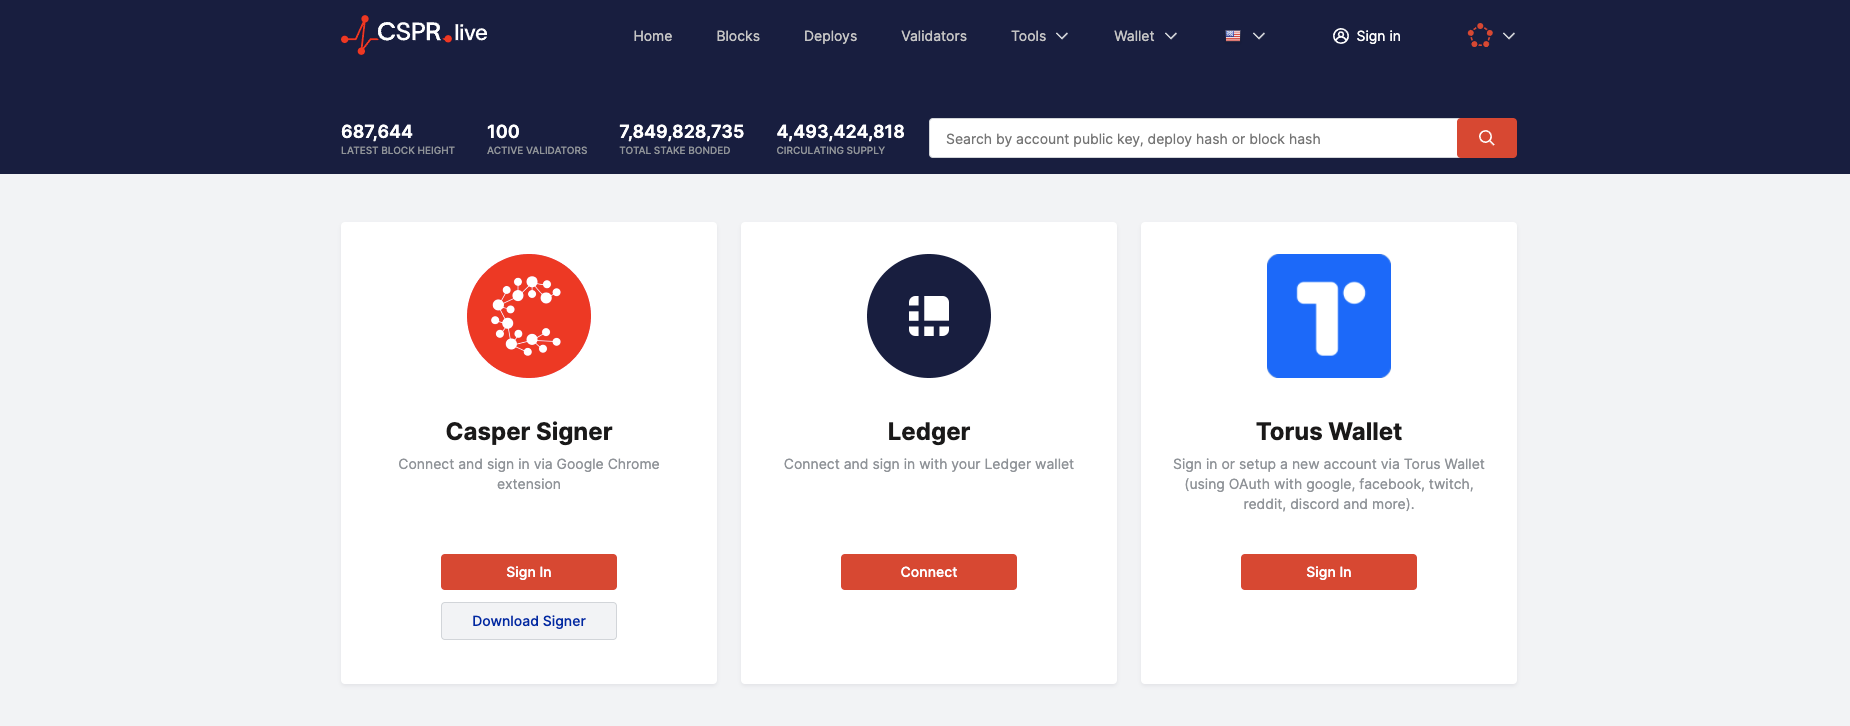
Sign in to cspr.live with your Ledger by clicking "Connect" under the Ledger option, as shown in the screenshot below.
Select the public key connected to your Ledger account.
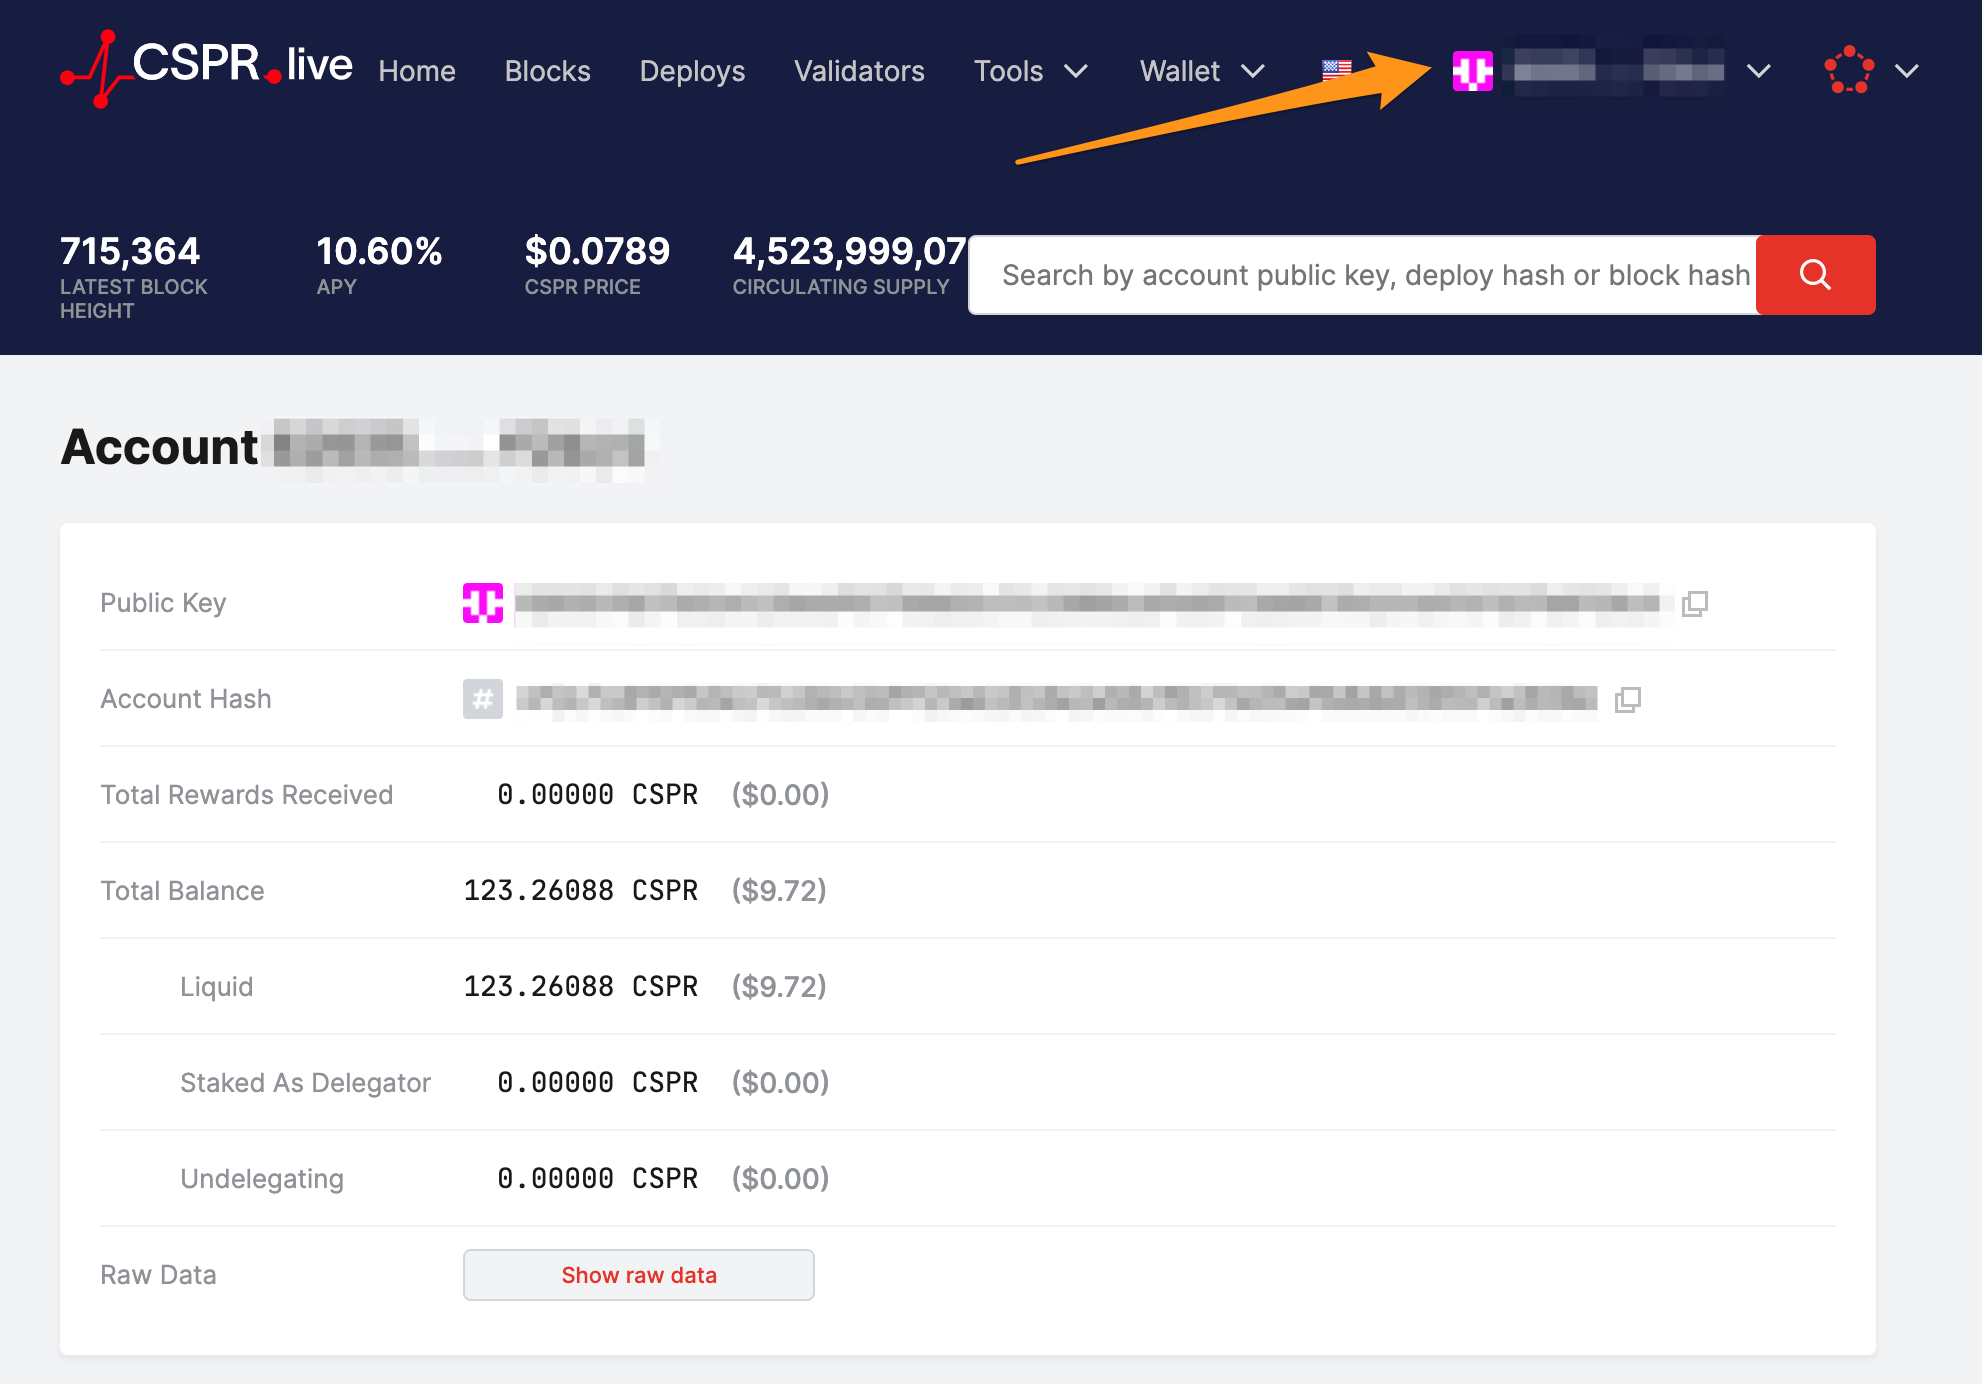
View your account by clicking on your public key at the top right corner.
Receive Tokens from an External Source
This portion will vary slightly depending on where your funds are currently stored. However, the process will require that you send tokens to your public key as described in the documentation.
Staking Tokens
Once you have tokens in your account, staking (delegating) with a validator is easy.
Go back to your account, but this time open the "delegate" tab located at: https://cspr.live/delegate-stake (alternatively, click on
Wallet ⇒ Delegate Staketo go there).From the validator list, choose any validator you like. You will notice that validators charge different fees and have different amounts staked to them. This may inform your decision to choose the right validator for you.
Specify the amount you wish to stake or click "Delegate max" as shown below. Notes:
- Remember that the total delegation amount to one validator cannot be less than 500 CSPR.
- Both delegation and undelegation have an associated fee, so you need to leave some funds in your account to cover transaction fees. Otherwise, you may need to deposit additional funds to undelegate later.
Click "Next" to continue, as shown below.
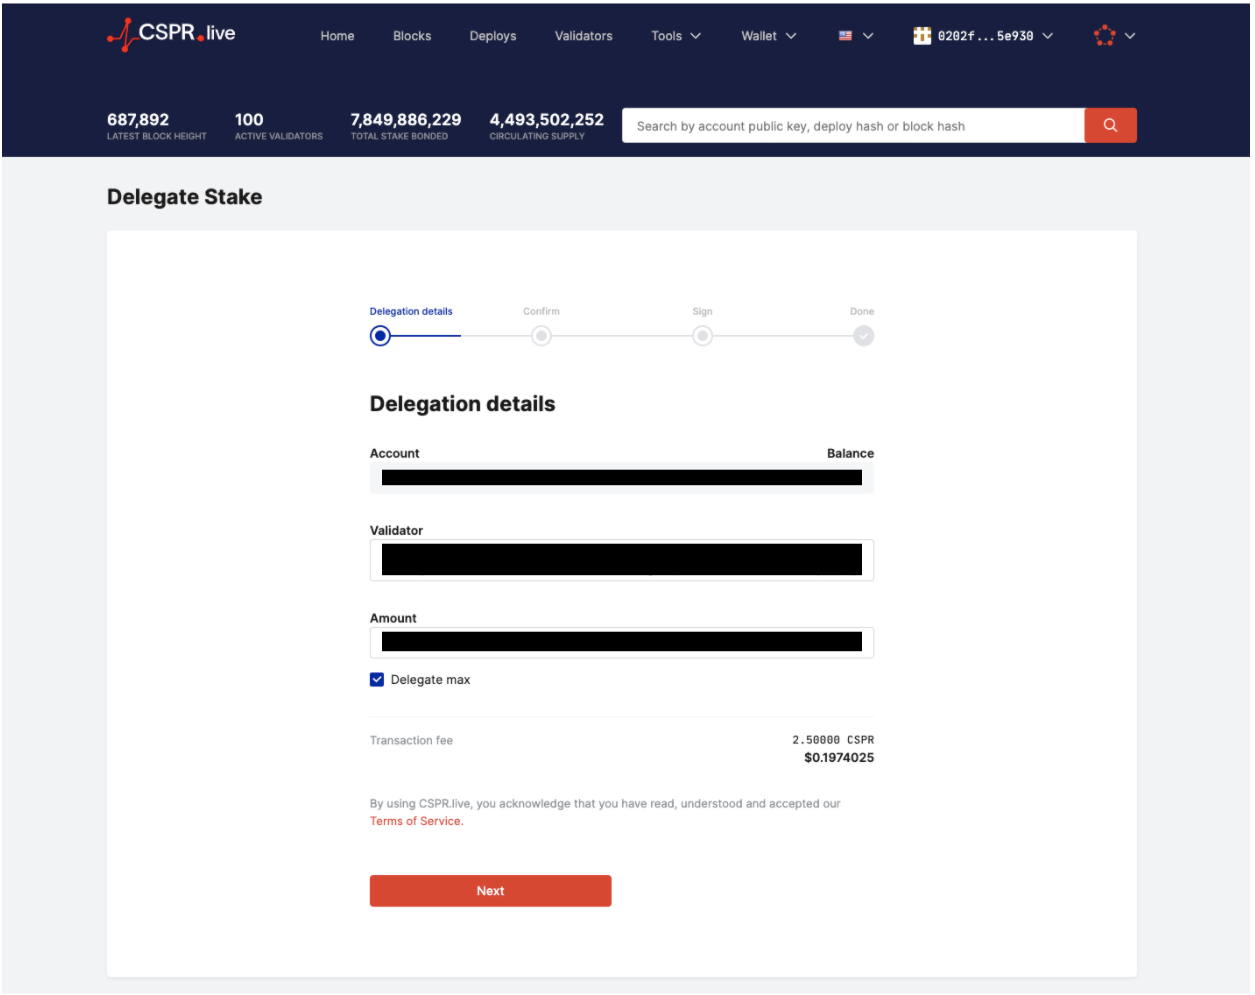
The page will update with a confirmation page asking you to verify all the details. If everything looks correct, click the "Confirm and delegate stake" button.
You will be presented with a final page asking you to sign the transaction with Ledger. Click the "Sign with Ledger" button at the bottom.
Note: If you get an error showing a "Transaction rejected" message, make sure your Ledger device is active and connected to your computer. You may also need to re-enter your PIN if it locked itself due to inactivity.
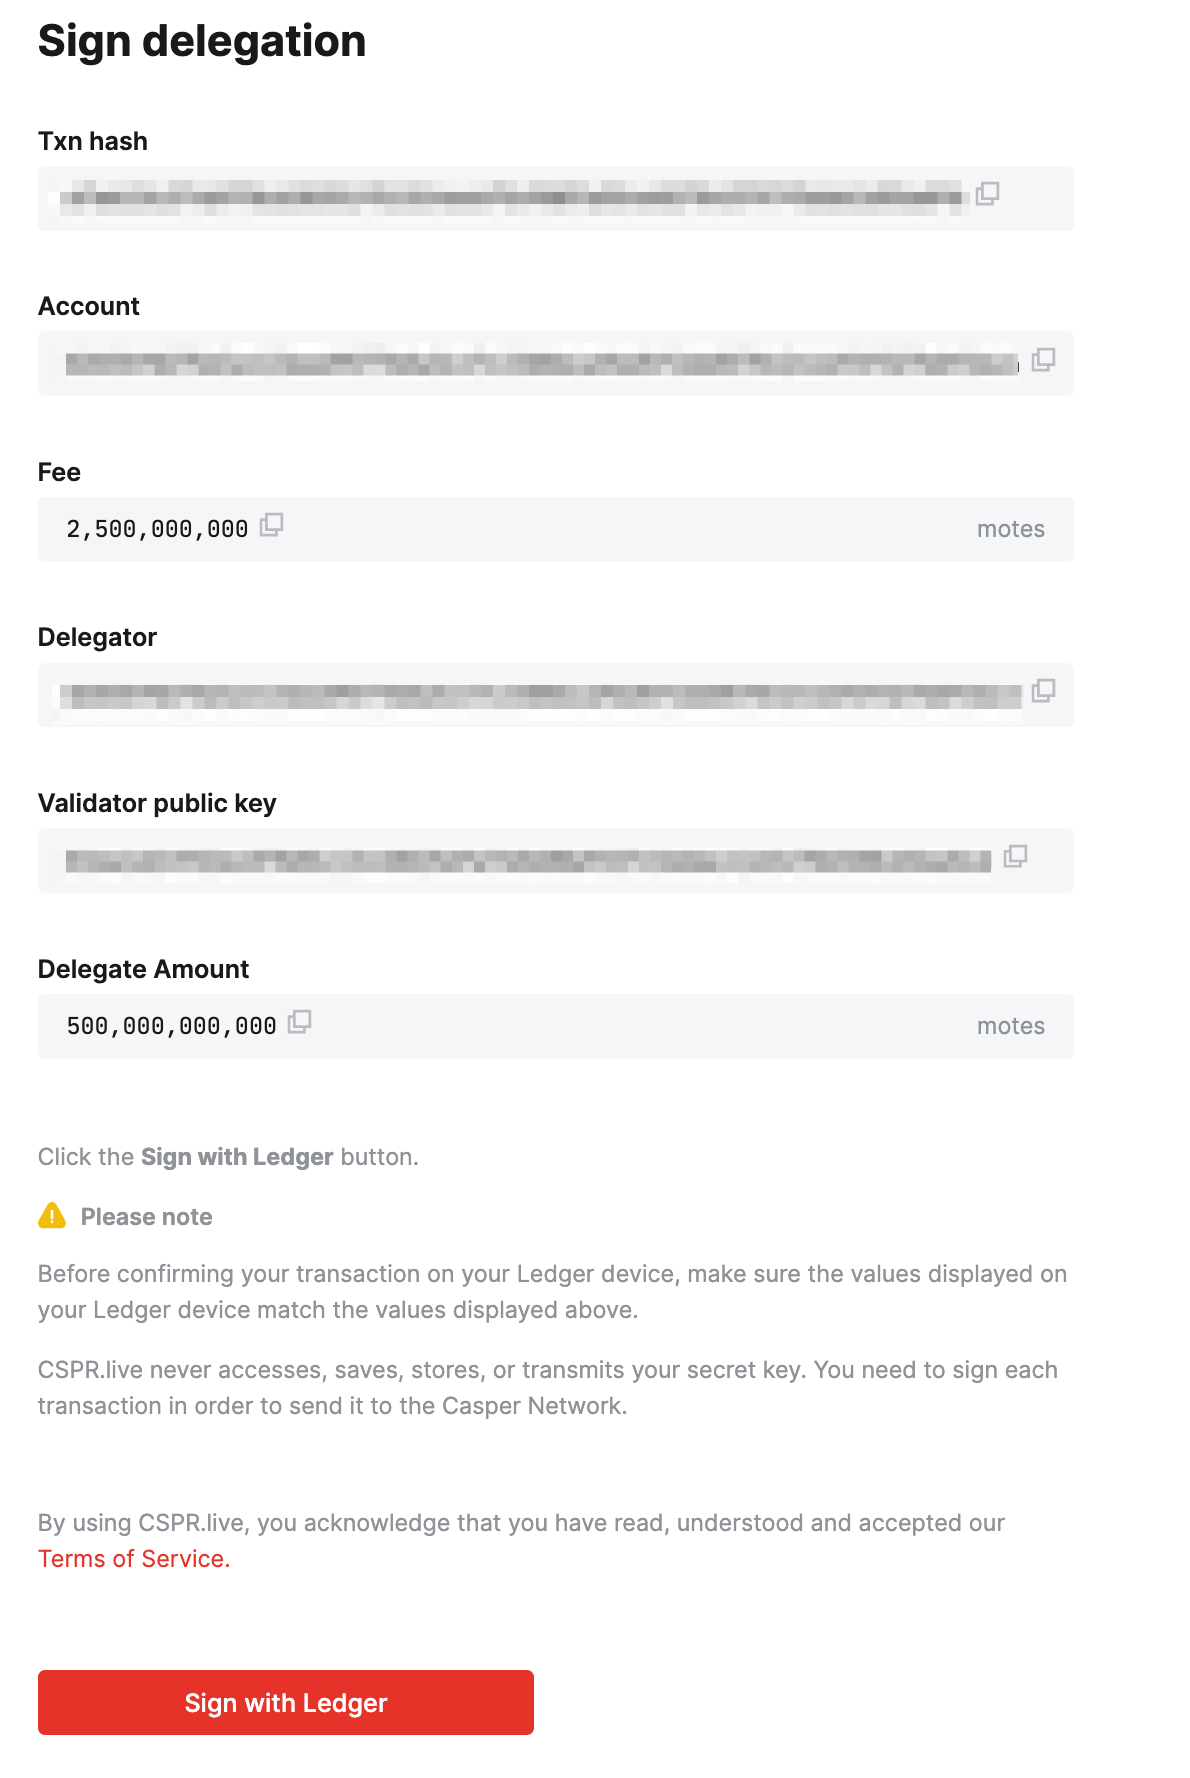
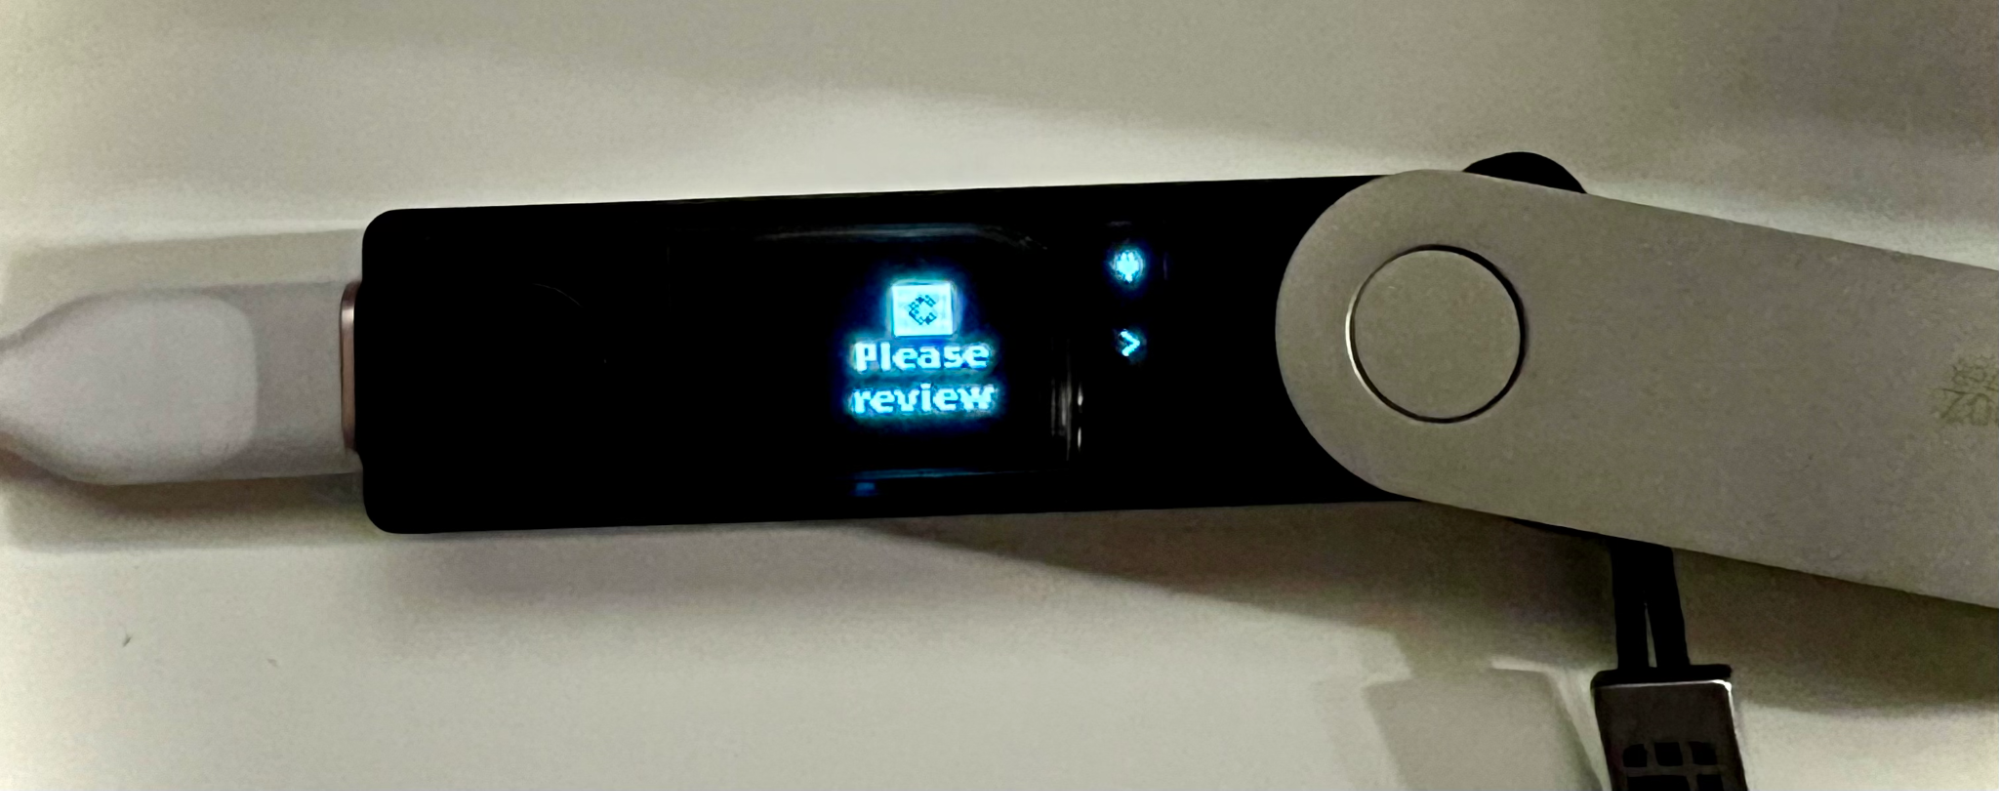
On the Ledger, you will see a message saying, "Please review". Click through the fields and verify everything matches what is being shown to you on cspr.live.
Once you click "Approve", you will see the Delegation Completed screen verifying that your staking successfully was submitted to the blockchain.


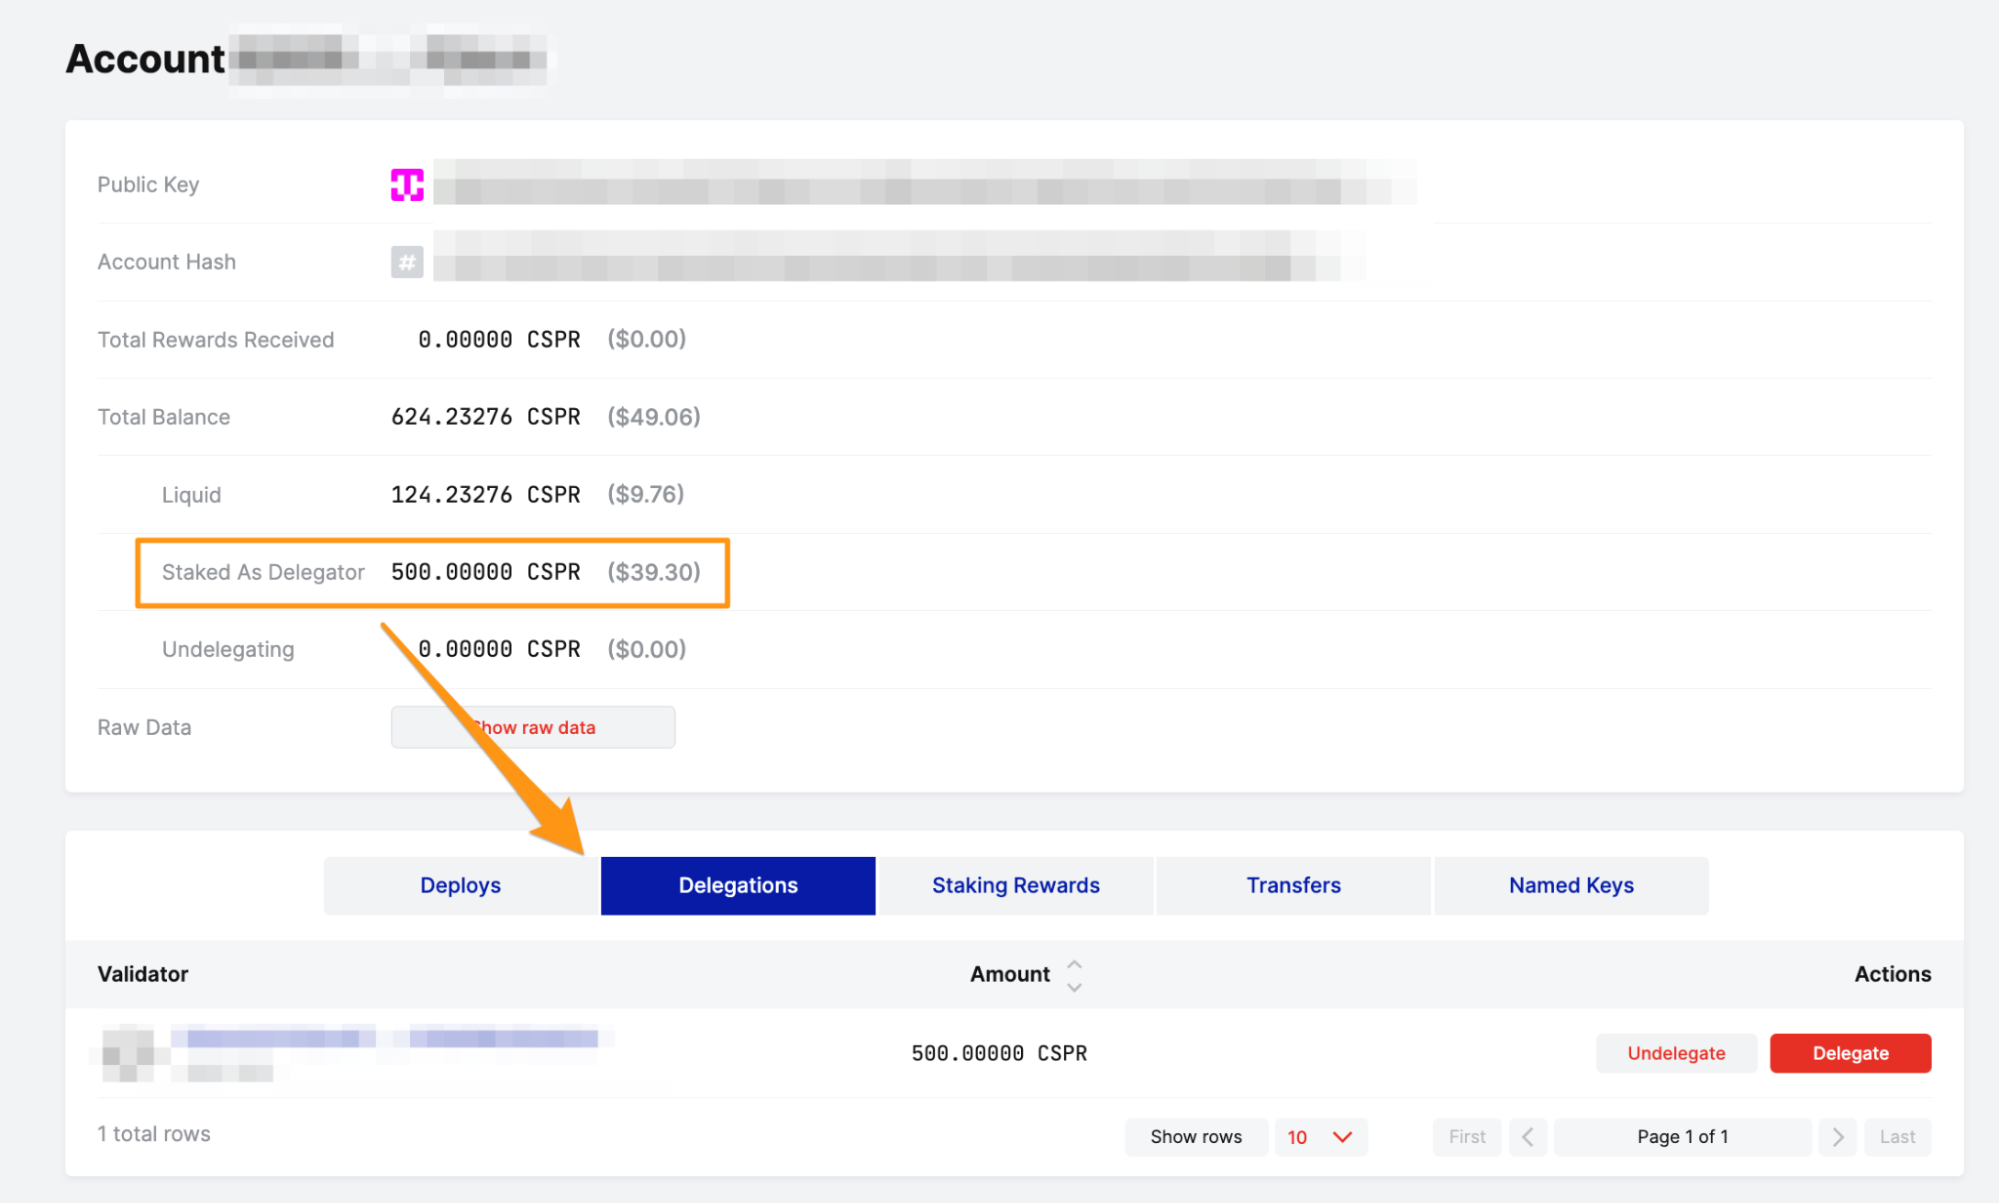
At this point, you can return to your account and wait until the completion of the era when the block gets included in the chain. Once the era completes, you will see that your liquid balance has decreased by your staked amount and is reflected in the "Staked As Delegator" row.
Note: If you staked your full balance, don't panic if you see a 0 CSPR balance whenever you log in! This is because it shows your liquid assets, not your total balance. You can go to your account details page, as shown below, to see your full balance and asset breakdown between liquid, staked, and undelegated tokens.
Unstaking with a Validator
Initiate the Undelegation
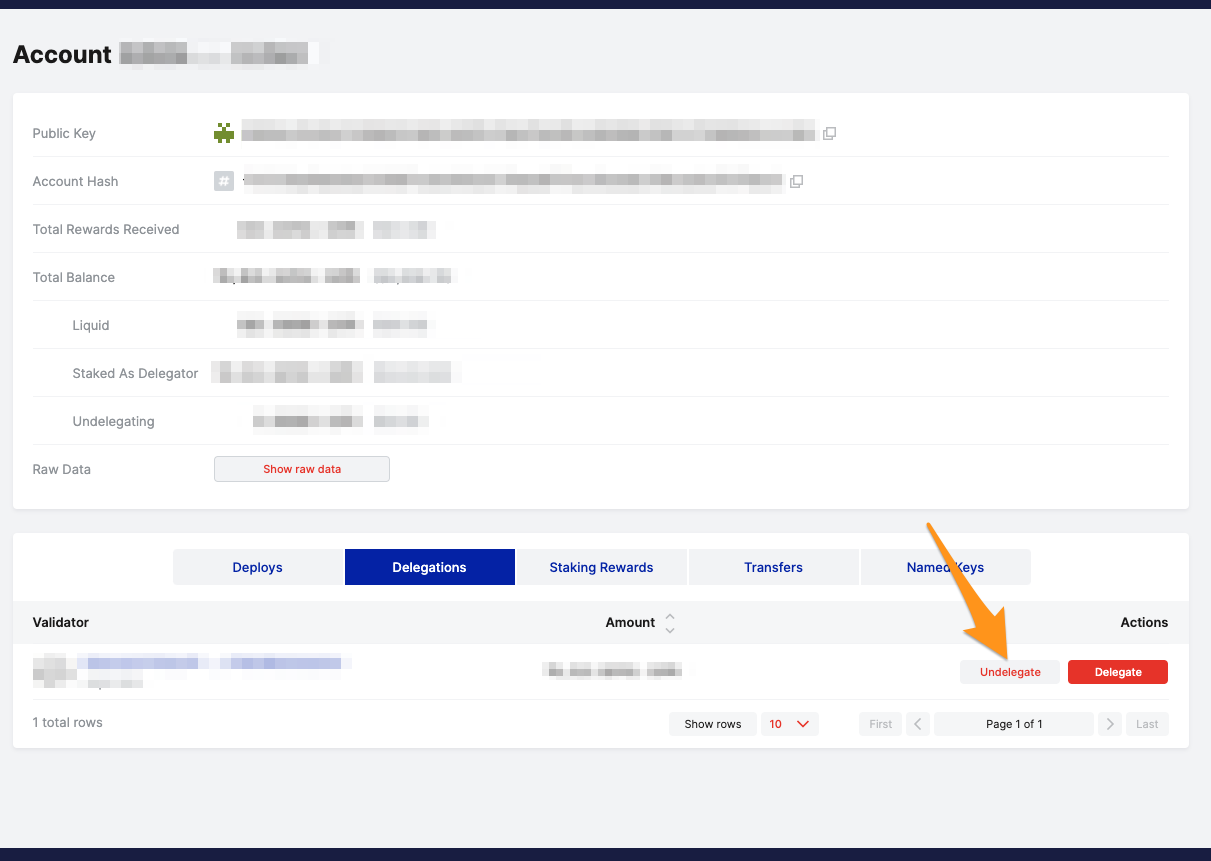
Now that you have funds delegated, you can liquidate them by undelegating them first. As demonstrated below, on your account's profile page, click "Undelegate" to get started.
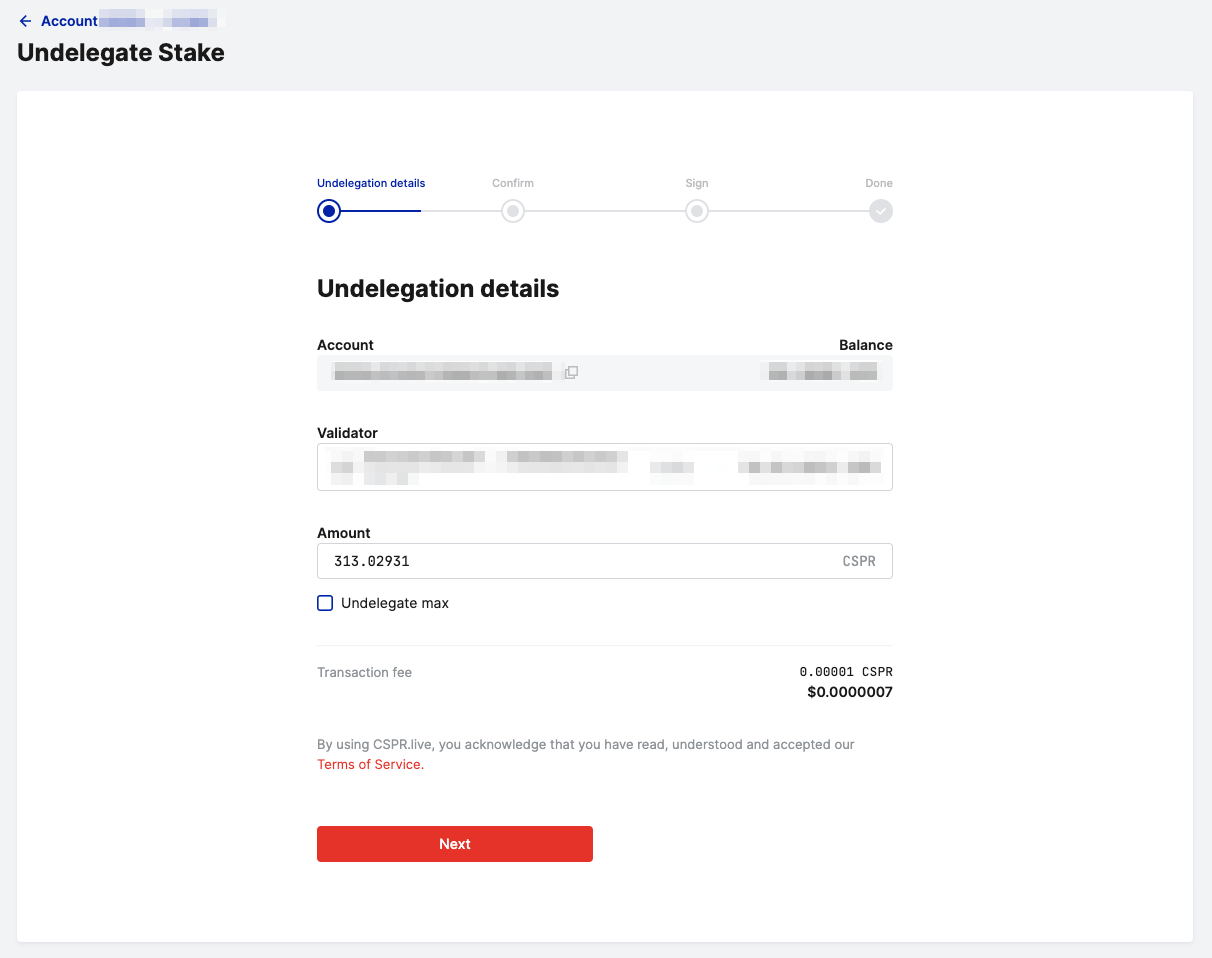
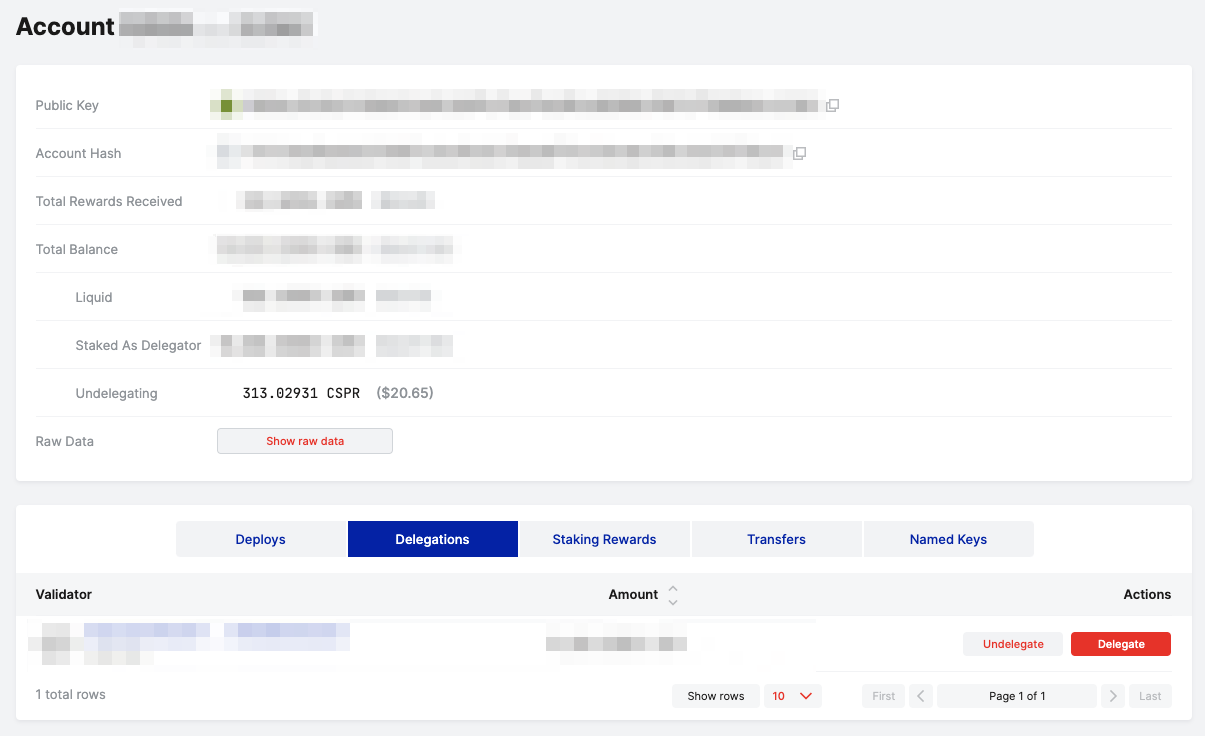
The next page, "Undelegation details", will ask you how much you wish to undelegate. If you select "Undelegate max", it will attempt to liquidate all of your staked assets (minus the transaction fee). Once you enter a valid amount, the "Next" button will become clickable. Below you can see that I entered 313.02931 CSPR to be able to proceed.
You will next be shown a confirmation screen. If everything looks good, then click "Confirm and undelegate stake" to proceed.
Sign the Undelegation
You will have to sign the transaction to verify your account is initiating this action.
Connect your Ledger device to your computer.
Unlock your Ledger by entering your PIN.
Open the "Casper" app and ensure you see "Casper Ready".
Then back on cspr.live click the "Sign with Ledger" button shown below.
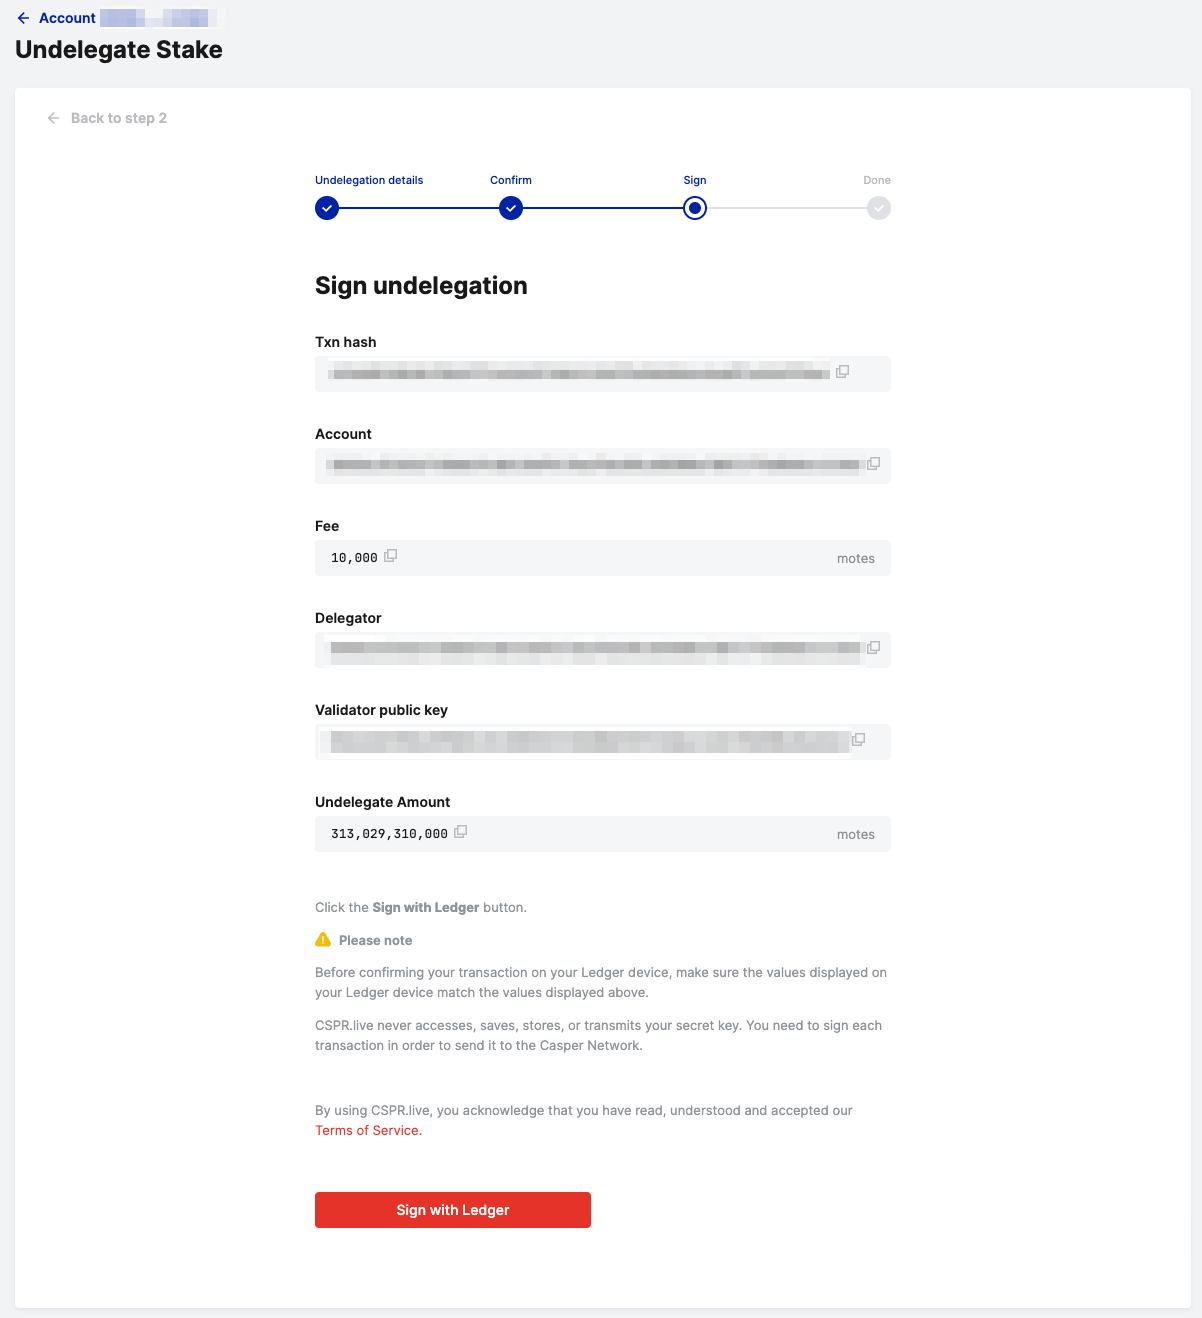
On your Ledger, you will see the transaction details. Verify all the information with what is being presented on the screen. If it looks good, then approve the transaction. If all goes according to plan, you will be presented with an "Undelegation completed!" screen.
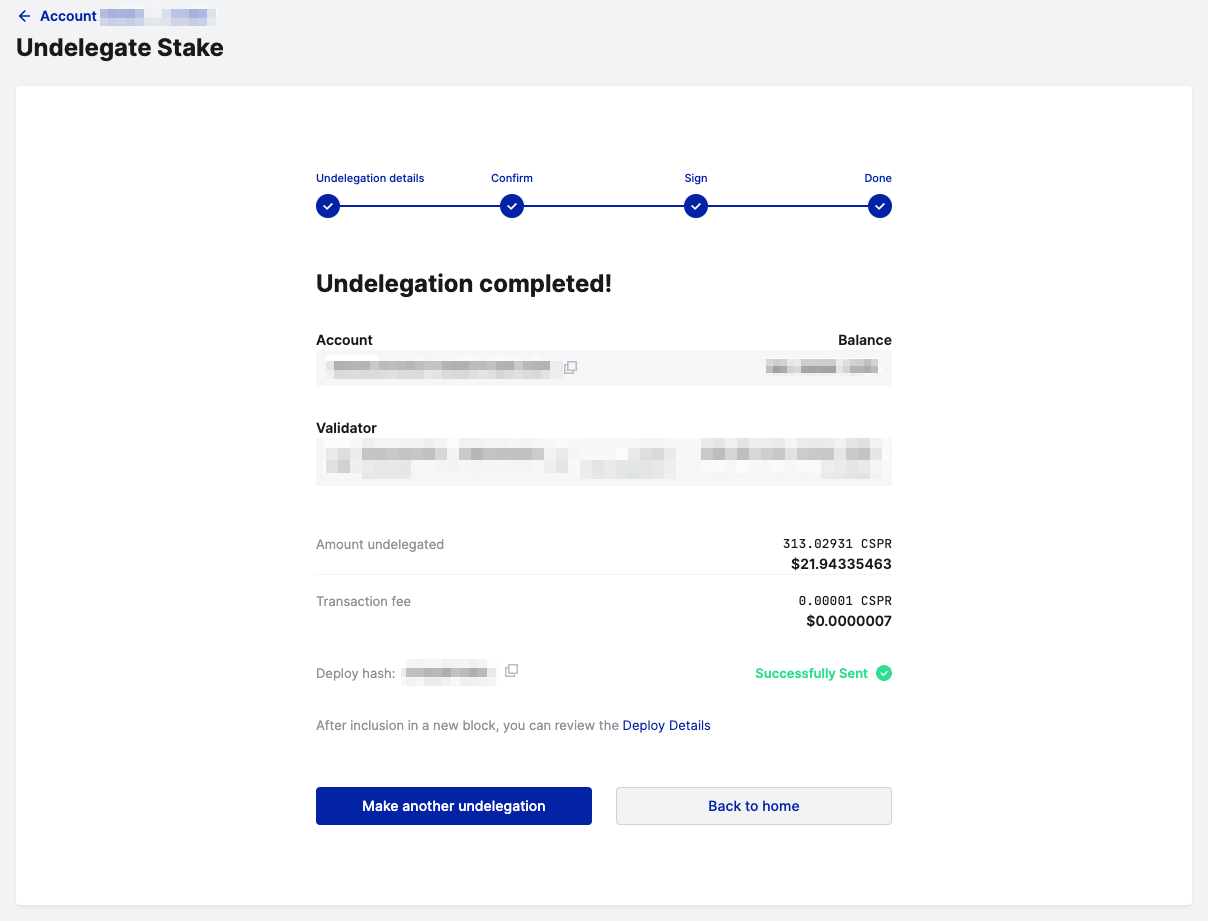
Note: There is a 7 era delay to undelegate. Era duration is approximately 120 minutes. While the funds go through undelegation, the balance will appear in the "Undelegation" row on your account profile page, as you can see below.
After the undelegation period completes, your funds will be liquid and available for you to re-stake, withdraw, or use however you wish.